Quickstart Part I: Create your Team
To get started with Zeleo, you need to create an account and team. After that is done, we’ll go through how to configure logic, add Zeleo Applications, and define how everyone on your team relates to each other.
Creating a Zeleo Account
Let’s begin by creating a Zeleo account.
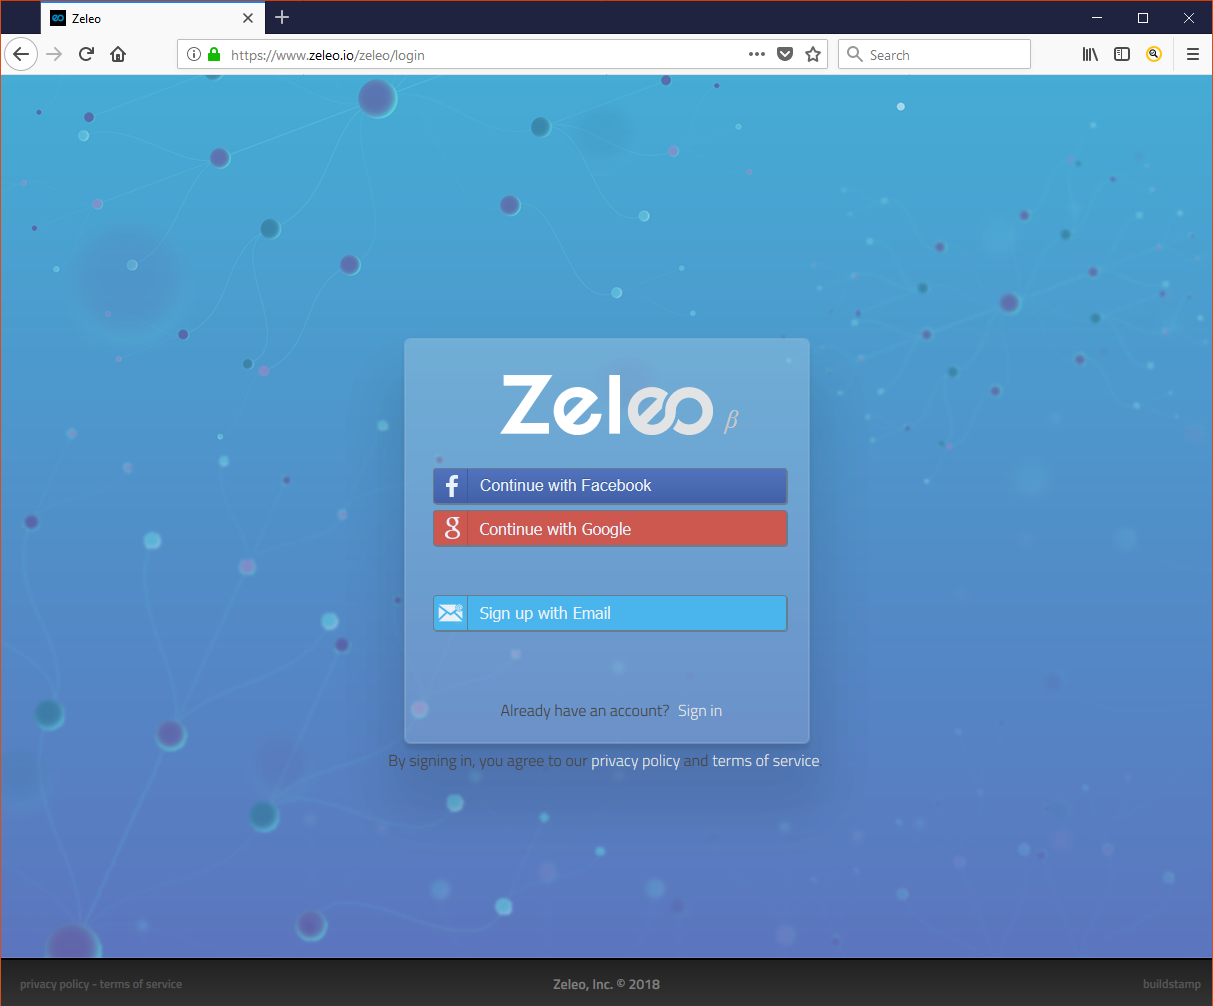
- First, Click here to go to the Zeleo homepage. You can either enter your email address into the field on the website or click the blue box at the top if you wish to use Facebook or Google authentication instead. If you sign up by email, you will be asked to verify the email; make sure to check your junk folder if you don’t receive one.

- Depending on the method you chose, you may have to add some additional information, like a password or name. It should only take a second- hang in there! Social media login will reduce the amount of data you need to enter since we get some of those values from the service and you won’t need another password.
- Finally, you will need to name your new Zeleo team. This name needs to be unique to Zeleo, though any subsequent teams will not have this restriction.
When you login for the first time, you should take the tour to get a feel for the product. You can always do this again by using the Help Menu (the question mark icon at the top right of the page).
Invite your Team
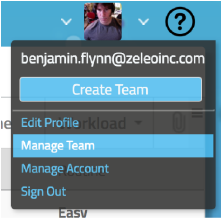
Now that you have an account and you are logged in, we’ll invite people to your team. All team configuration will be done through the Manage Team dialog, which can be found in the upper right of your screen.

- Open the dialog now to begin inviting members to your team.

-
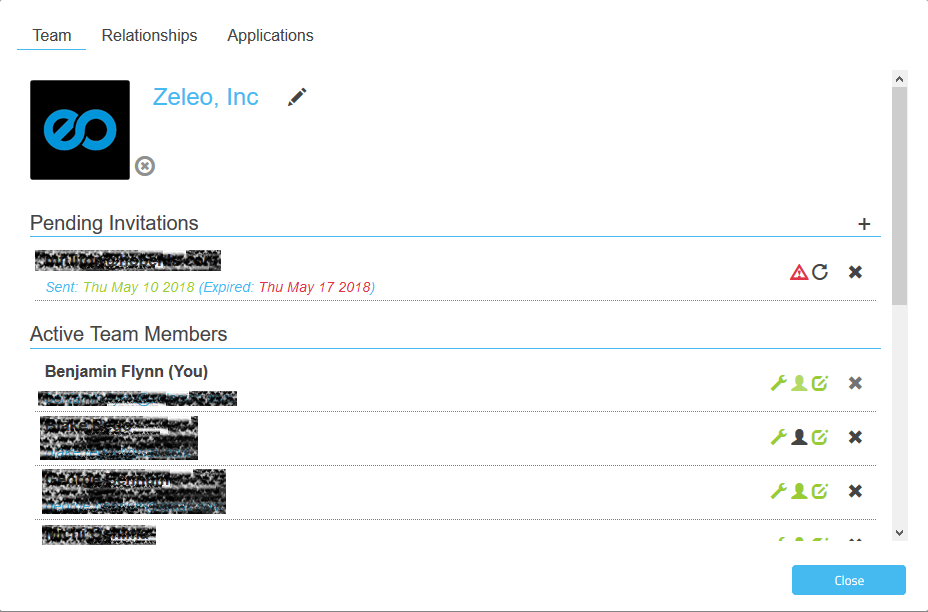
While you’re here, you might want to set an avatar for your team. This will show on the right side of the screen if you belong to more than one team so you can switch between your teams.
-
Invite people to your team by clicking the + symbol in the Pending Invitations section and entering each person’s email address. Remember to the click the check icon to send the invitation. Regardless whether the person has a Zeleo account, they will be emailed a link to join your team.
![]()
- Once your team members have accepted your invitation, you will be able to assign their privilieges. Notice there are three icons to the right of their email address in your Manage Team dialog. Each toggles a permission for that user on your team.
- The wrench icon gives the user Development abilities which can be used to integrate a system with Zeleo.
- The person head icon toggles whether the user has Team Administrator privileges, which gives that user access to the Manage Team dialog.
- The pencil icon allows the user Creator permissions, which lets that user configure how Zeleo interacts with systems and your team.
Edit Profile
Here you will add your profile data, including your phone number.
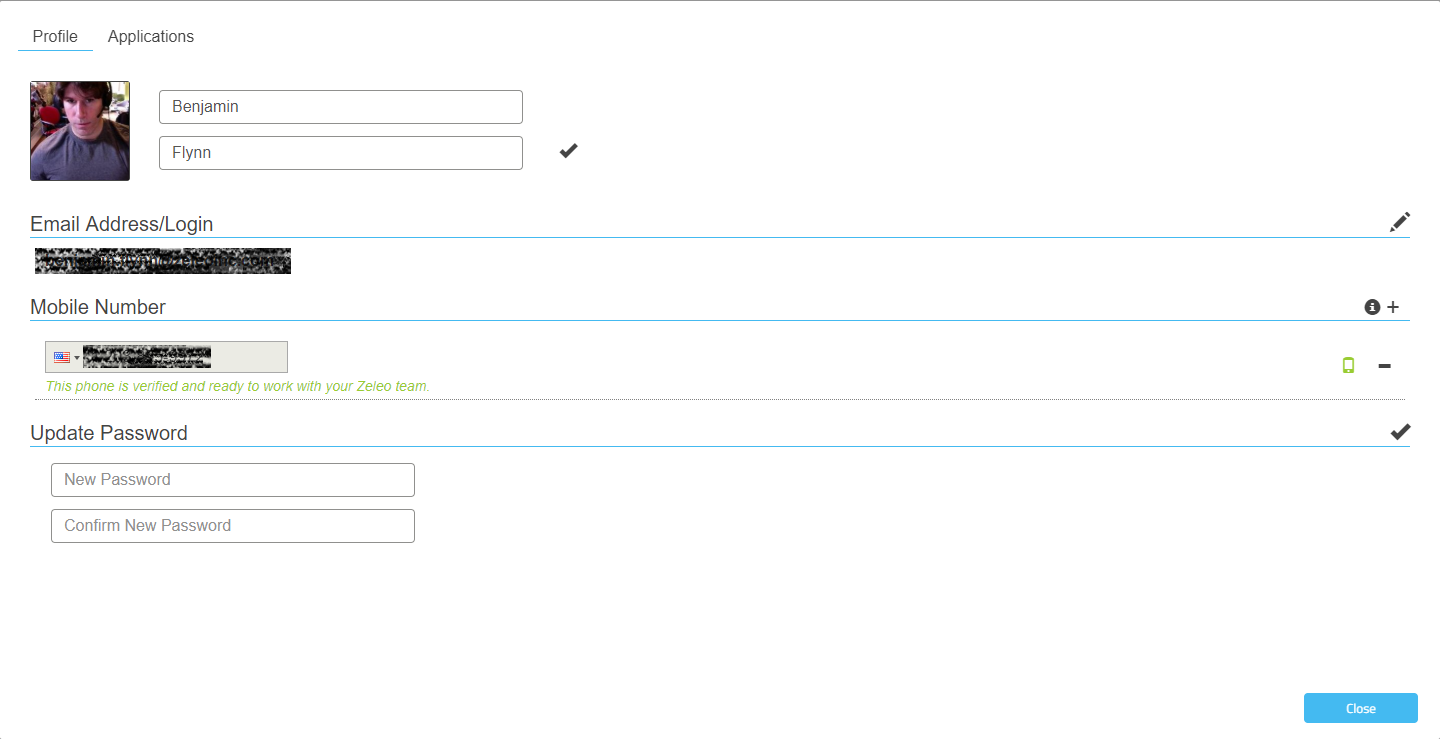
- Open the Edit Profile dialog. You will use thise to configure anything specific to you in Zeleo. Any data you change here will apply for all your teams as well unless otherwise noted.

- First you are going to want to enter your phone number and click the check icon to save. You will be sent a link to click to verify your phone before it can be used with Zeleo.
- You may want to add an avatar, and make sure your name and email are correct. If you need to update your email, you will need to verify by clicking a link in an email sent to you.
- We will cover the Applications tab in the next Quick Start.
Conclusion
Okay- now you have a Zeleo account and have invited your team. Welcome to Zeleo! In the next Quick Start we’ll go over Zeleo Applications.